
Kkakdugi is a type of kimchi made with radish. We love radish kimchi because it’s spicy, sweet, tangy, and super crunchy! It’s all the taste and texture you’ll love to pair with any soup!
As I’ve mentioned in several other recipes, we love to use Korean Radish, especially during fall. In its peak taste, Koreans would typically get this in boxes and use it in soups (like Muguk) or side dishes (like Dongchimi).
And while we had our personal hoarding of the root crop, we made sure to measure out the recipe and share it with everyone. A lot of people have been requesting this, and hopefully, you’ll love this just as much as you love Napa Cabbage Kimchi! Let’s go!
Ingredients for Radish Kimchi
Disclaimer: I get a small commission at no additional cost to you when you make a qualified purchase under the affiliate links.
Unlike cabbage kimchi, Kkakdugi actually uses fewer ingredients and it also takes fewer steps to make. It’s literally just chop and dump, but the problem is you’d have to wait for days til the radish’s peak fermentation. Kakaka~
- Sea Salt – In making any kimchi or Korean salad recipes, use sea salt to effectively brine the vegetables. It is very important because this is what helps ferment and preserve the kimchi. If not available, use kosher salt, but never use iodized salt.
- New Sugar – This is a type of sweetener that only needs a small amount to make any mixture sweet. We don’t use regular sugar because it will make the radish kimchi very sticky and that should not be the case.
- Mustard Leaves and Scallion – Chop these into 1-inch and 2-inch pieces respectively. They are the perfect complement to the radish!
- Garlic, Onion, and Ginger – These are aromatics that will give the kimchi different flavor profiles. If it’s a matter of preference and you dislike any one of these, I promise you won’t taste it. If you’re allergic to any one of these, feel free to add more of the other items.
- Gochugaru – This is Korean red pepper flakes. This is what will give spice, mild sweetness, and smokiness to the dish. Feel free to adjust according to your own spice tolerance.
- Salted Shrimp and Fish Sauce – The umami element of Kkakdugi. If allergic to one, feel free to use more of the other.
- Rice – Unlike in the cabbage kimchi where we had to make a rice flour mixture, here we only need a bit of cooked rice. This is the agent that will encourage fermentation in the kimchi.
How to make Kkakdugi?
Step 1:
Roughly peel the radish, then remove the top and bottom roots. Clean out any holes and dirt from the surface.

Step 2:
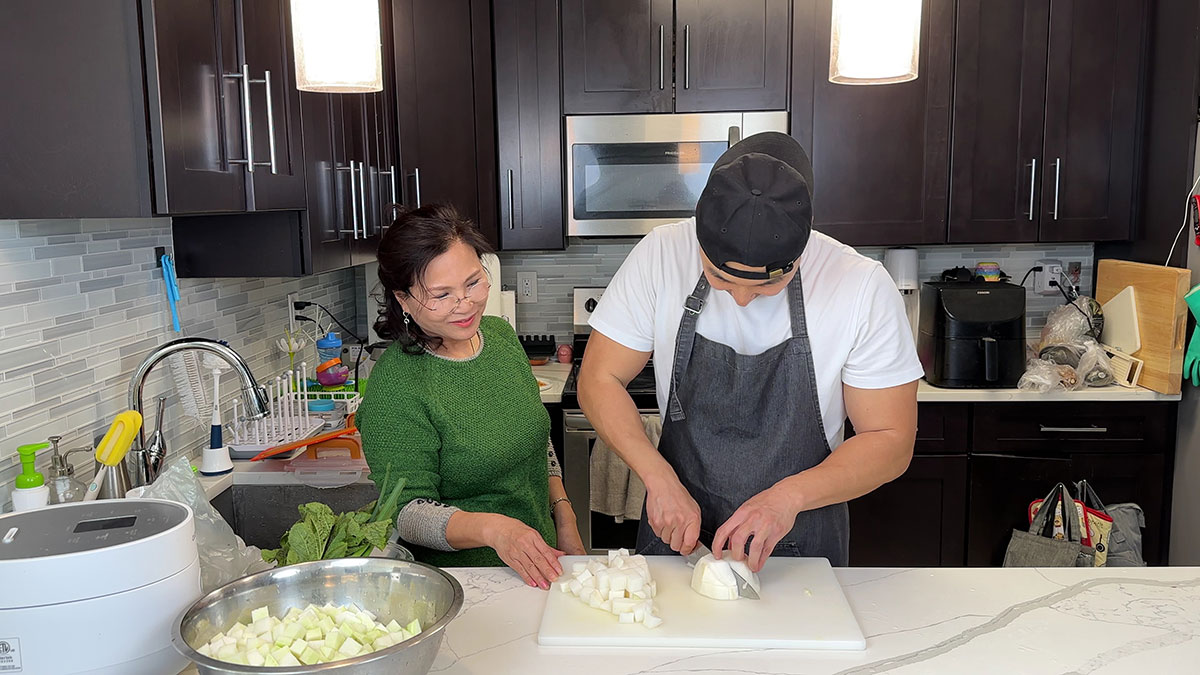
Chop it into 1-inch discs and then into 1x1x1-inch bitesize pieces. In this process, make sure to use a sharp knife as the radish can be hard to cut through. A dull knife is definitely a no-no!
Step 3:
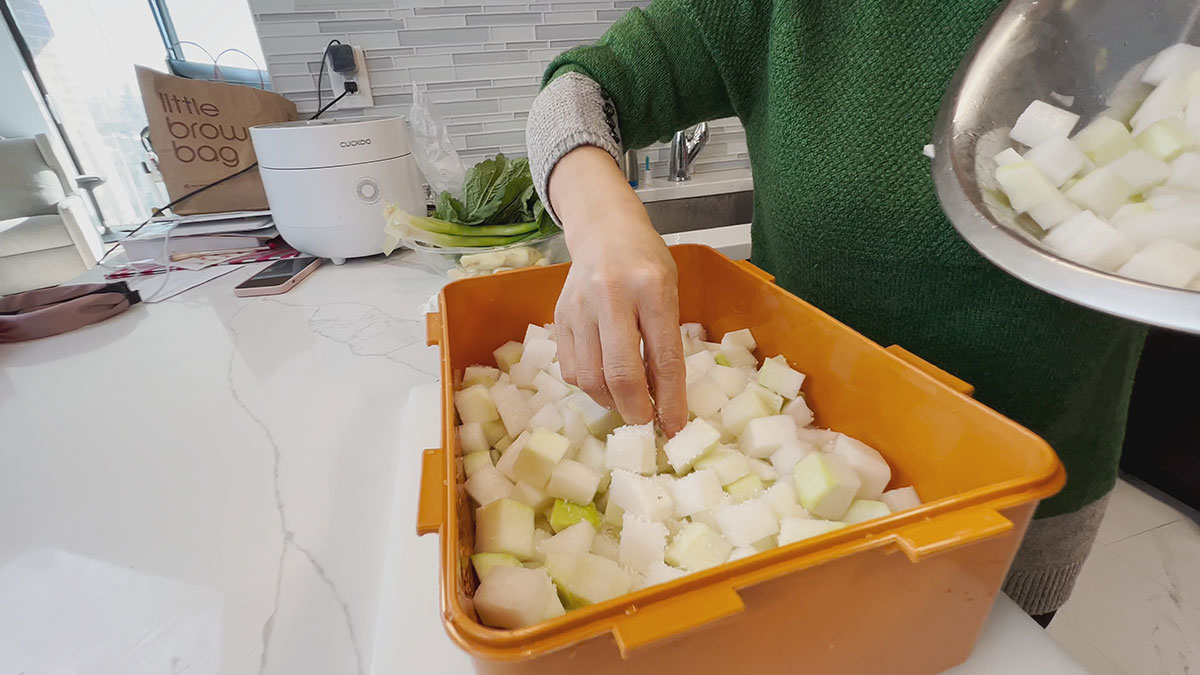
Layer radish and sea salt alternatively. Each radish piece must be coated well.
Step 4:
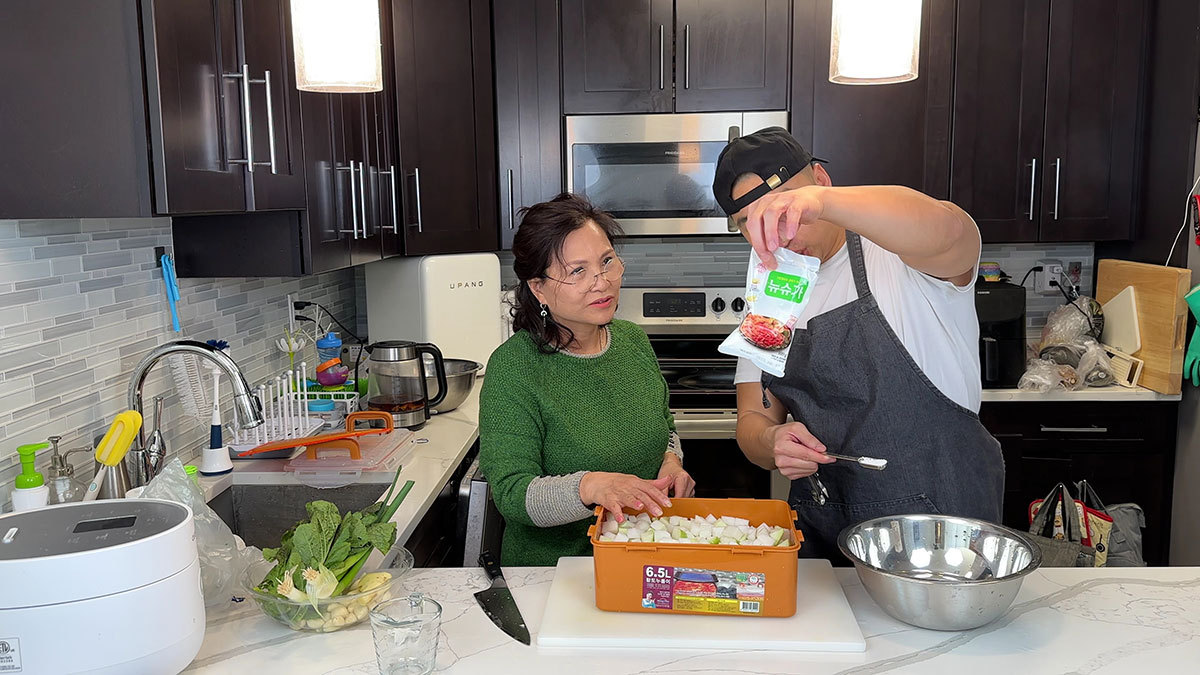
Dissolve new sugar in room temperature water to make a wet brine. Add it to the salted radish, push down to get every piece brined, then set aside while you prepare other ingredients.
Step 5:
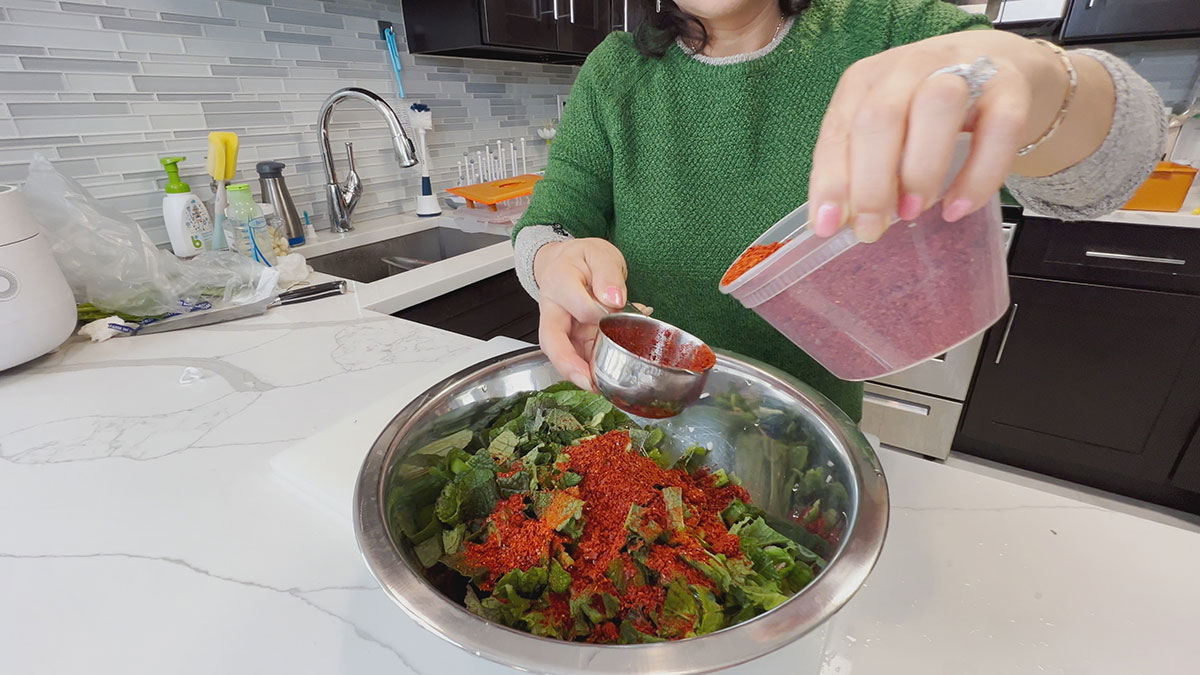
Prepare the other vegetables. Chop the scallions into 2-inch pieces and the mustard greens into 1-inch pieces, and combine them. Add gochugaru, then set it aside.
Step 6:
Blend together garlic, onion, ginger, cooked rice, salted shrimp, and fish sauce. Note that this is going to be stinky, but the stinkier, the better. I promise!
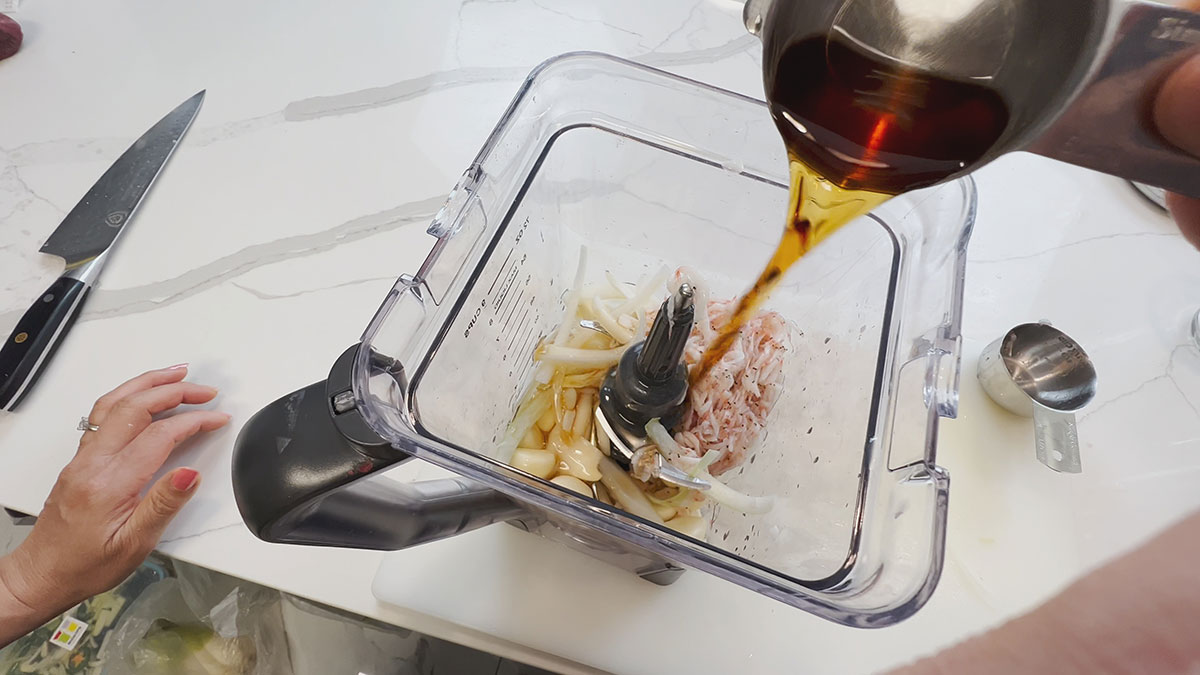
Step 7:
Add the blended mixture to the vegetables with gochugaru and mix it thoroughly.
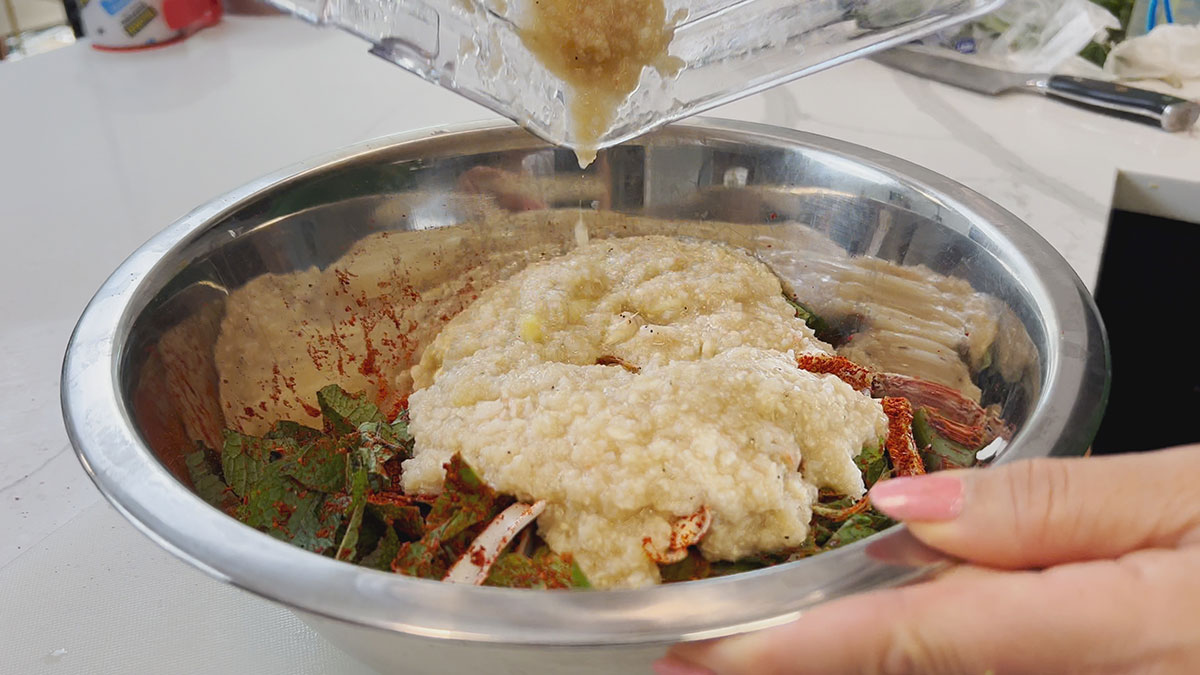
Step 8:
Drain the radish from the brine and wash it with ONLY a cup of water. Do not wash it with running water as we are only removing the excess salt.

Step 9:
Place the radish in the sauce and mix thoroughly with your hand. Yes, use your hand so each piece gets coated with the sauce. Be careful as the edges of the radish can be sharp, and you may literally get a radish cut.
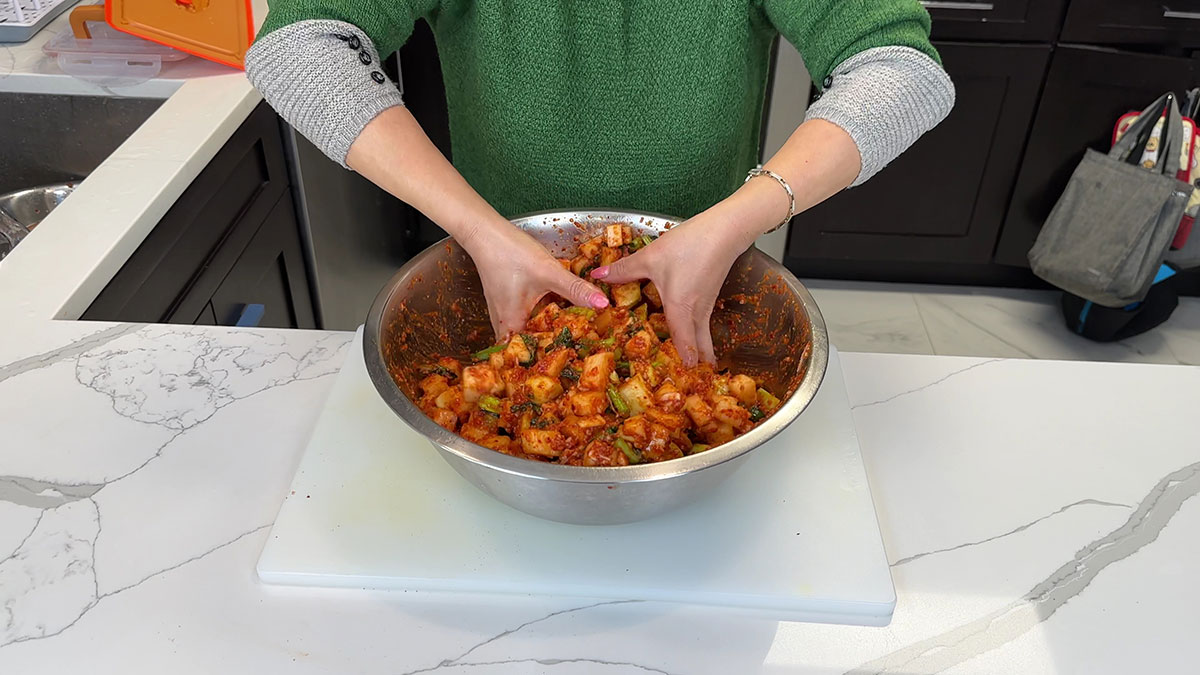
At this point, you can taste it. Add more salted shrimp or fish sauce if you want it saltier, and add more new sugar if you want it sweeter. Note that the radish will continue to water down, so you want it a bit tastier at this point.
You can now transfer your radish kimchi to a fermenting container or glass jar.
Frequently Asked Questions:
How long do you ferment Radish Kimchi?
With very simple ingredients and easy steps, you now have kimchi! The hard part is that you have to ferment this at room temperature for about 5 days or when your desired sourness is reached. You can taste it as you go.
During this time, bubbles form which means it is fermenting! Continue to push down the radish so it is covered in the kimchi juice. When the time comes that it tastes right for you, you can now store it in the fridge to slow down the process.
How long does Radish Kimchi last?
The beautiful thing about kimchi is that the longer it ferments, the better it tastes. The flavors will continue to develop and the sauce gets absorbed by the radish. Despite being submerged, this will stay super crunchy!
In a week or two, the kimchi will definitely be at its peak taste. This can then be stored in the fridge for several months.
What to eat with Radish Kimchi?
Radish kimchi perfectly pairs with soups like Ramen Noodles, Kalguksu, Samgyetang, or a nice bowl of Juk! When it starts to get super funky, you can add it to fried rice or turn it into jjigaes and it will give an amazing twist to your meals!
Other side dishes you may like:
- Spicy Radish Salad (Easier version of Kkakdugi!)
- Spicy Cucumber Salad
- Sweet & Sour Seaweed Salad
- Soy-based Burdock Root
- Soy Marinated Onion
Make sure to leave a rating, a comment, or tag me on Facebook, Instagram, or Tiktok when you chop them up! Yeobosayo!
Radish Kimchi Recipe (Kkakdugi)
Equipment
- Blender
- Kimchi Container or Glass Jar
Ingredients
- 6 lbs Korean Radish
- 32 grams Sea Salt
- 1 tsp New Sugar
- 2 cups Water Room temperature
Optional Vegetables
- 2 stalks Mustard Leaves Chop to 1-inch pieces
- 3 stalks Scallions Chop to 2-inch pieces
Kimchi Sauce
- 2 cups Gochugaru or Korean Red Pepper Flakes
- 61 grams Ginger
- 1/2 of Medium-size Onion
- 20 cloves Garlic
- 1/2 cup Salted Shrimp
- 1/2 cup Fish Sauce
- 88 grams Rice
Instructions
- Roughly peel the radish, remove the top and bottom roots, and clean out the holes and dirt on the surface.
- Slice it into 1-inch discs, then cube it in 1x1x1-inch bitesize pieces.
- In a bowl or container, layer radish and sea salt alternately until all of the pieces are salted.
- Dissolve the new sugar in room temperature water then add in the radish. Make sure it is submerged well, then set it aside to brine.
- Meanwhile, chop the scallions and mustard greens. Place it in a bowl and add the gochugaru, then set aside.
- Blend the garlic, onion, ginger, cooked rice, salted shrimp, and fish sauce.
- Add the blended sauce to the vegetables with gochugaru, and set aside.
- Drain the radish and run it in ONLY a cup of water to wash down the excess salt. Do not wash it in running water, just drain it thoroughly.
- Add the radish to the sauce and vegetable mixture, then mix thoroughly. Make sure every piece is coated in the sauce.
- Transfer to a kimchi container or glass jar and leave to ferment at room temperature for 5 days or until desired sourness is reached. Taste as you go!
- When desired sourness is reached, transfer to the fridge to slow down the process. Peak taste will be in a week or two, and it can still be stored for several months.
- Serve as a side dish to soups or turn into fried rice or jjiigae.



How long do you salt the korean radish before draining?
Around 30 minutes~
The ingredients list has 88 grams rice and the instructions say to add the cooked rice. Is the 88 grams cooked rice, or 88 grams rice to be cooked?
I meant 88 grams cooked rice. Sorry for the confusion~