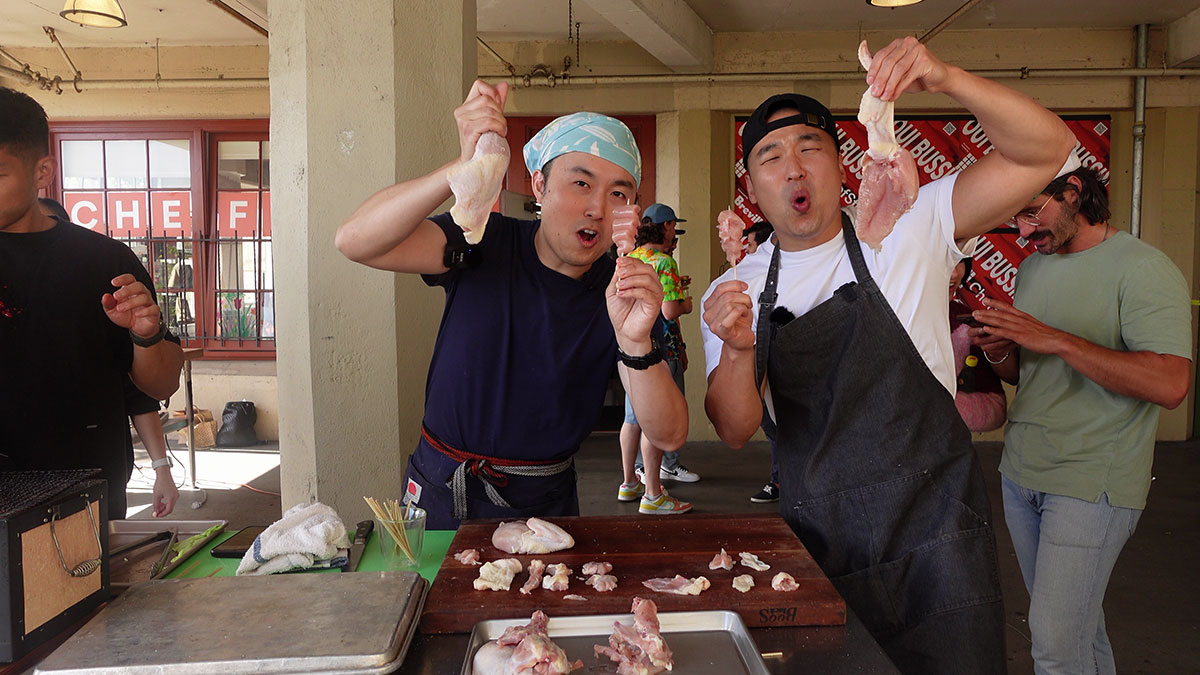
Yakitori is Japanese grilled chicken. In this blog post, Yakitori Guy will show us how to break down a whole chicken and the ins and outs of making authentic yakitori!
Yakitori Guy is a fellow content creator whose expertise is in making Japanese-style grilled chicken skewers. He initially worked in tech but left his job to spend the last 5 years learning how to make the best yakitori. He started teaching himself, then learning from Yakitori masters in Japan, and now he is out here spreading the word about Yakitori and Japanese culture online. Show some love and support by checking out his socials and if you’re in LA, try visiting his pop-ups!
According to him, chicken may seem like a cheap piece of meat, but Japanese cuisine is all about specialty food. Yakitori masters would often source the best chicken and experiment to know how to cook it to its optimal taste until it melts in your mouth.
Here, we’ll take a whole chicken, break it down yakitori-style, skewer it, and grill it to get the best-grilled chicken there is!
Breaking Down a Whole Chicken
In our collaboration, he first showed me how to break down a whole chicken so that I could isolate every part and get the best of it. You will then have different skewers that highlight every special part and unique taste of the chicken.
To break it down, you need a trusty sharp knife to cut any skin, tendon, or membrane, and you’ll be pulling the rest out.
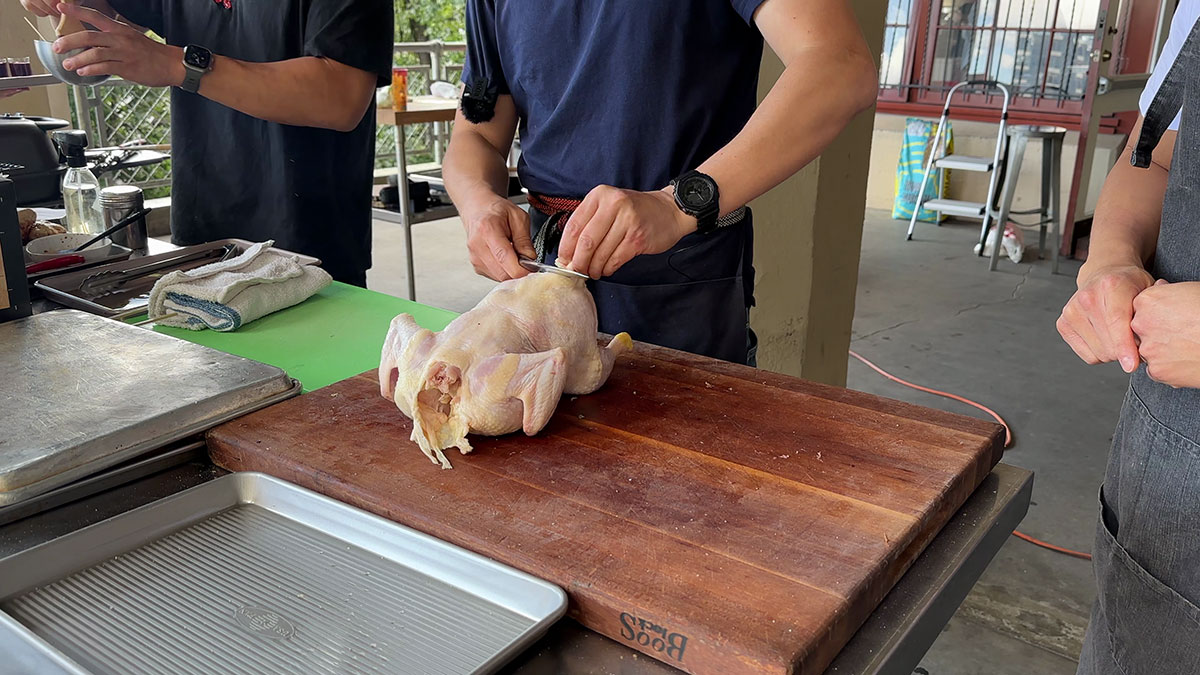
#1 Cut off the chicken tail.
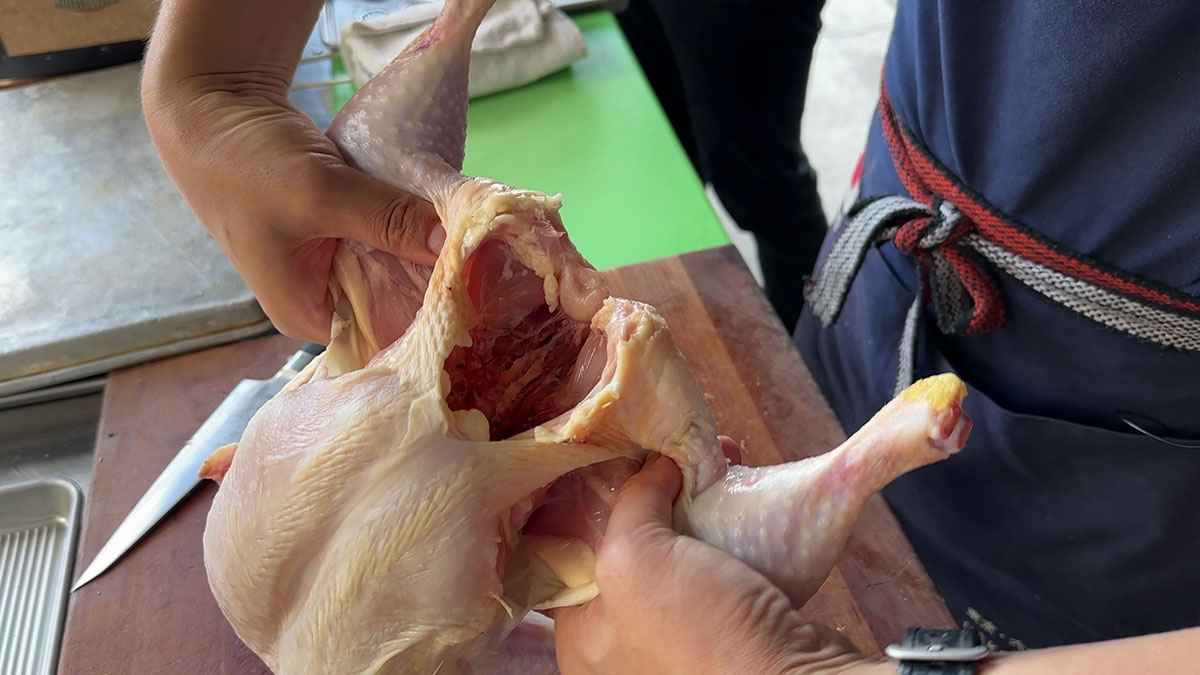
#2 To get the thigh and leg, slice the skin, break the joints from the whole chicken, and pull it out. Slice through the remaining attached skin to completely remove it.
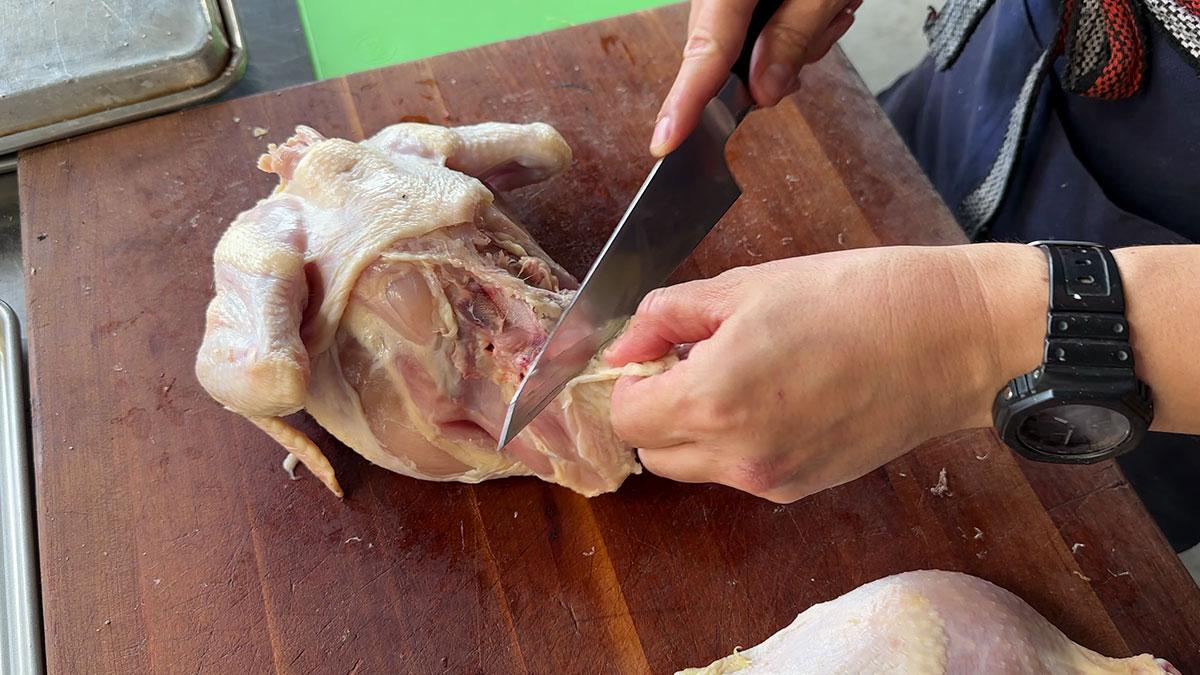
#3 Slice off the butt skin and the belly meat skin (skin in the middle of the breast and rib).
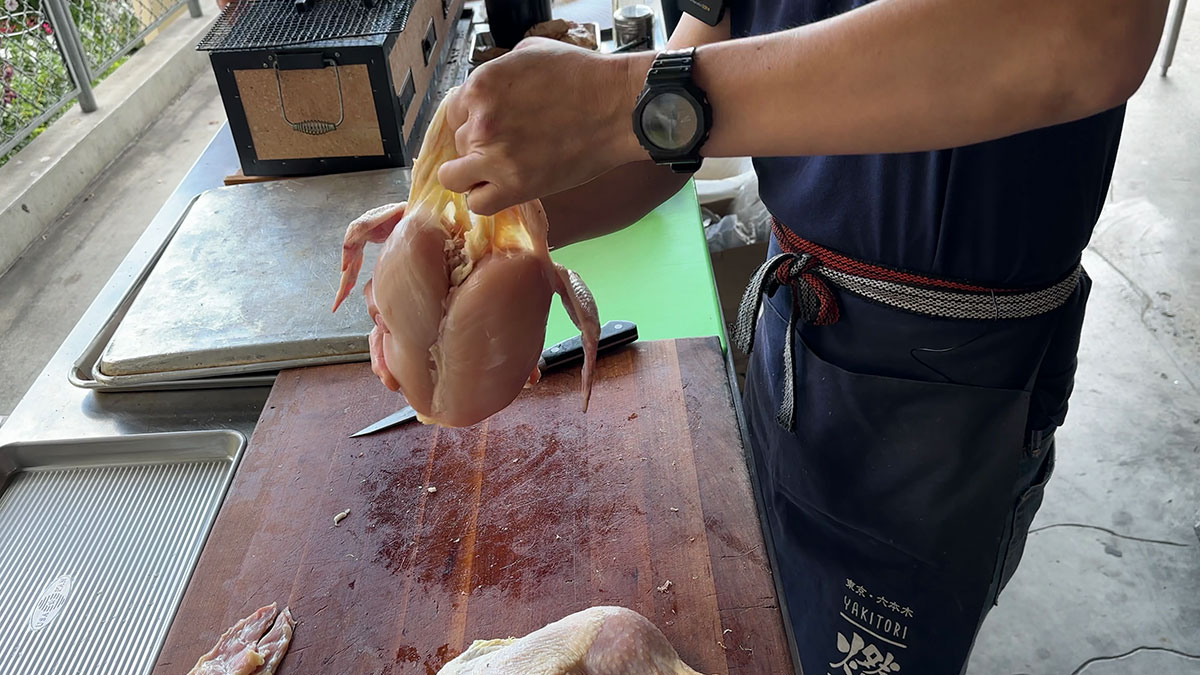
#4 Pull the skin on top of the breast and “take it off” then slice it away from the chicken.
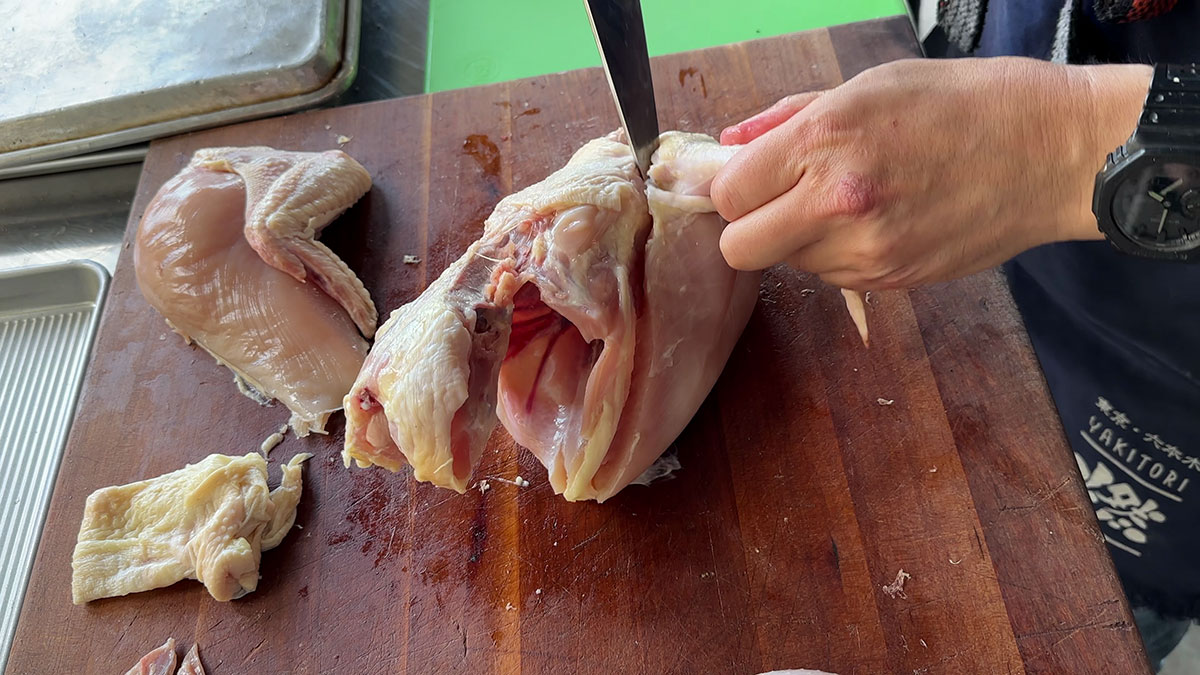
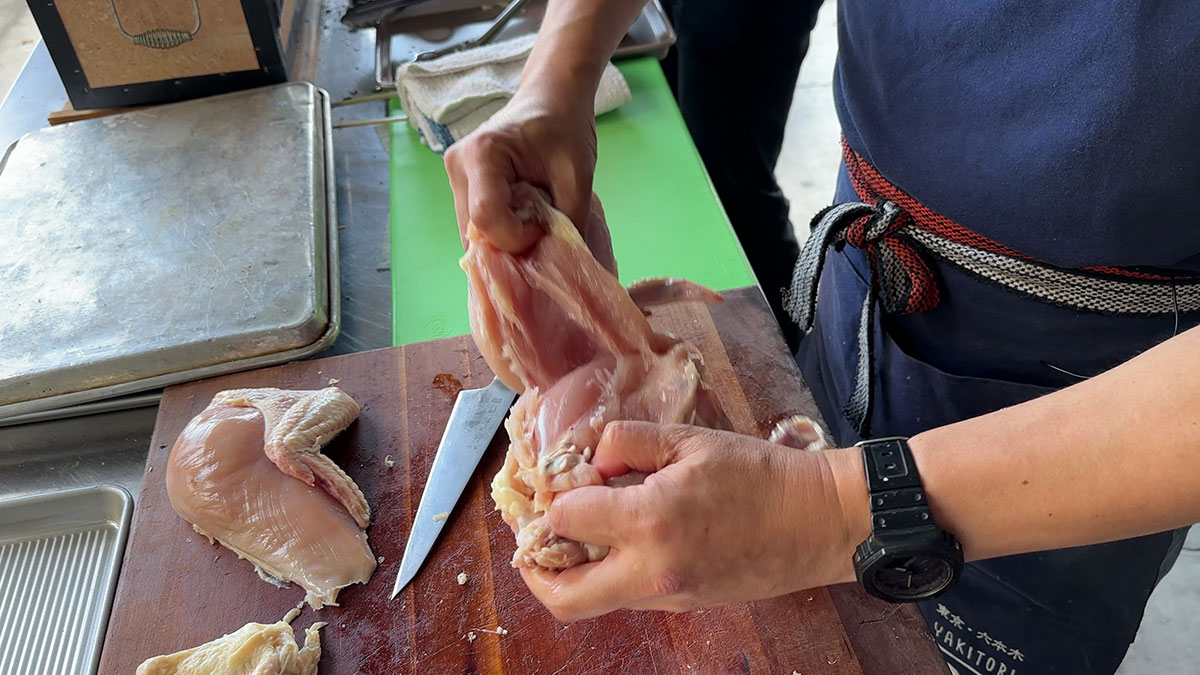
#5 Make an incision along the wings, bottom of the breast, and along the middle of the two breasts, then pull it out. Cut the tendons as needed.
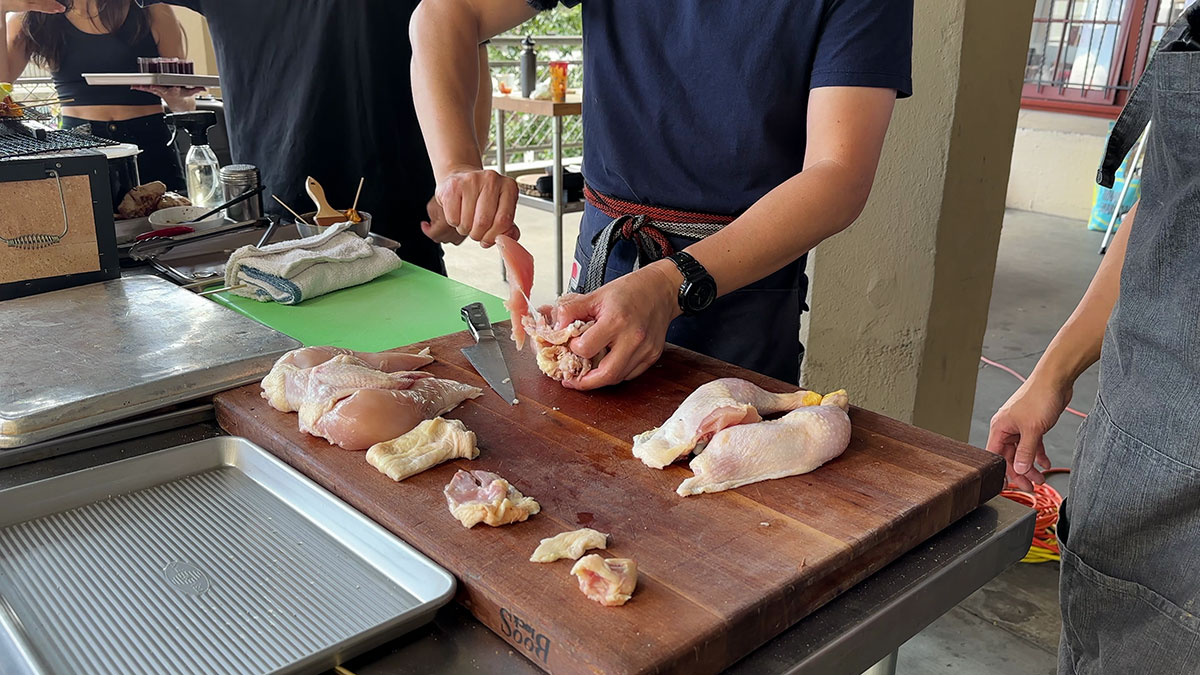
#6 Cut silver skins or membranes along the chicken tenders and pull them out.
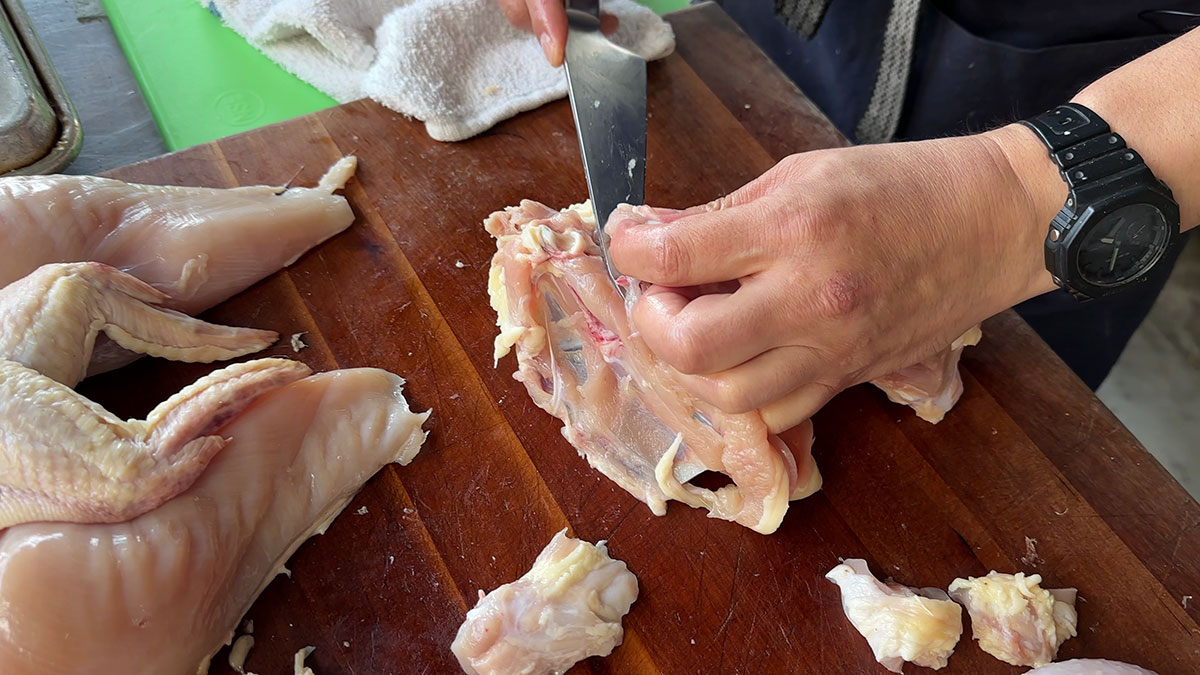
#7 You will have the skeleton of the chicken and you will also remove the cartilage, skin, shoulder meat, and neck meat.
As such, you will have different parts of the chicken which also have different names in a Japanese Yakitori menu:
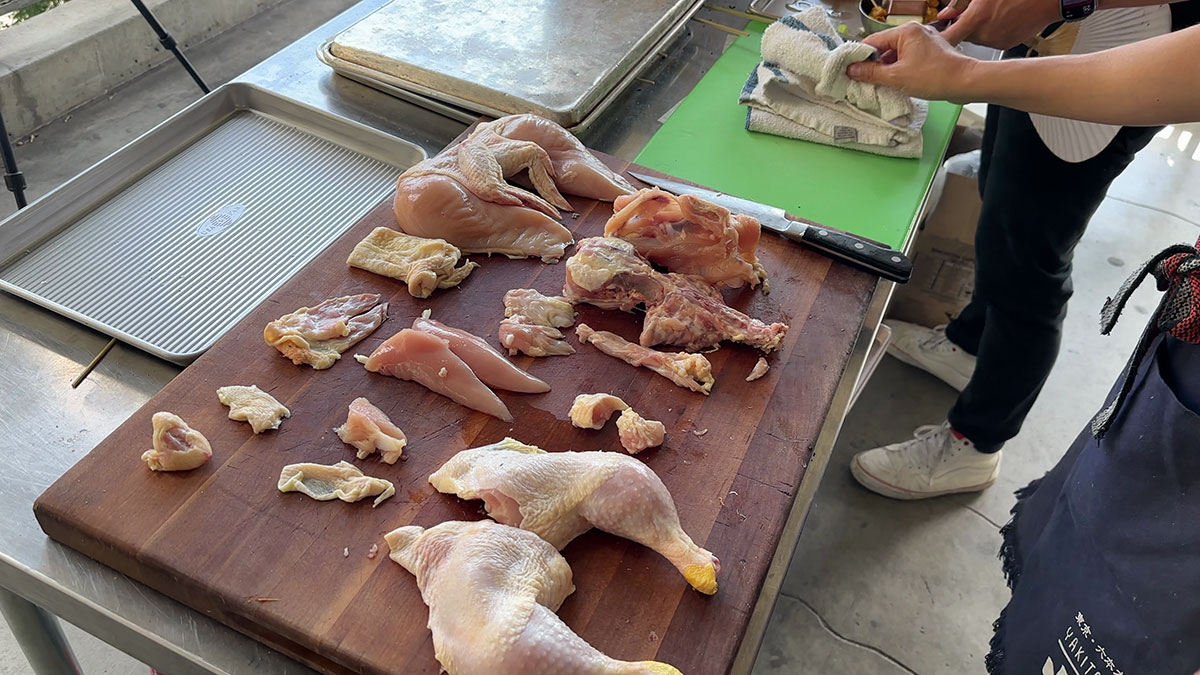
- Chicken Thigh – Momo
- Chicken Thigh and Scallion – Negima
- Chicken Breast – Mune
- Chicken Tender – Sasami
- Chicken Wings – Tebasaki
- Chicken Skin – Torikawa
- Chicken Cartilage – Nankotsu
- Chicken Tail – Bonjiri
And as you can see, there will be no chicken parts left behind. Even the smallest parts are great for drinking!
Skewering the Chicken for Yakitori
Since these are chicken skewers, Yakitori Guy showed me different techniques on how to skewer them easily.
Poking Through
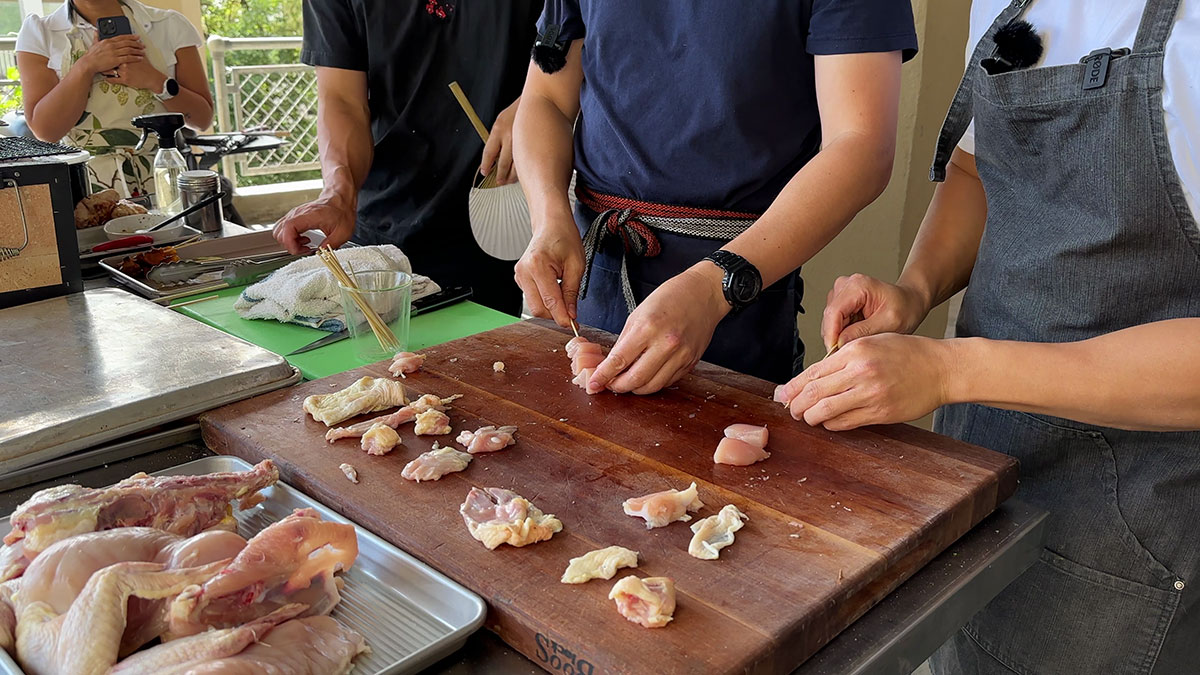
This method is perfect for when you are skewering chicken tenders and chicken thighs.
In skewering, lay the chicken on your board, roll it a bit from the bottom then push further from the top while poking through the stick in the middle. Essentially in one big chunk of meat, you will poke through it twice.
By doing this, it looks pleasing because everything is evenly rolled from the top and the bottom is well balanced so when you rotate it on the grill, it won’t flop around.
TIP: Make Negima by alternating fatty parts of the thigh and slices of 3-inch scallions.
Side-to-Side
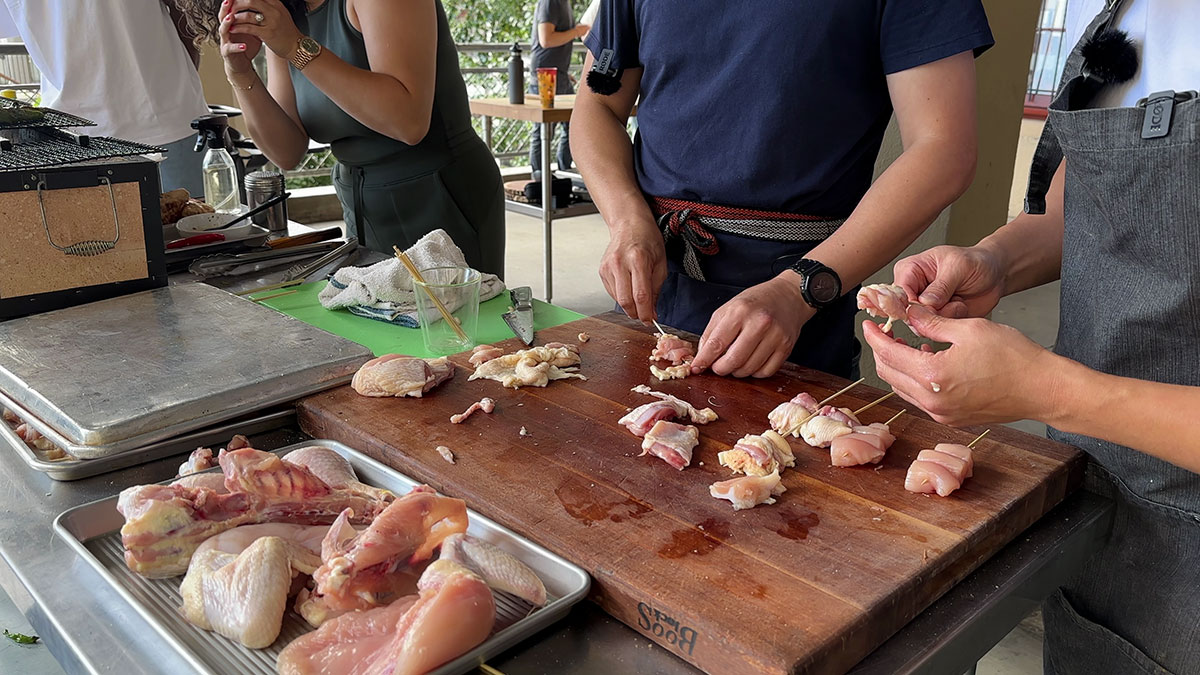
This method is perfect for when you are skewering cartilage from breast, butt, and shoulder.
From the parts where there is meat, you will essentially skewer them from side to side.
Weaving
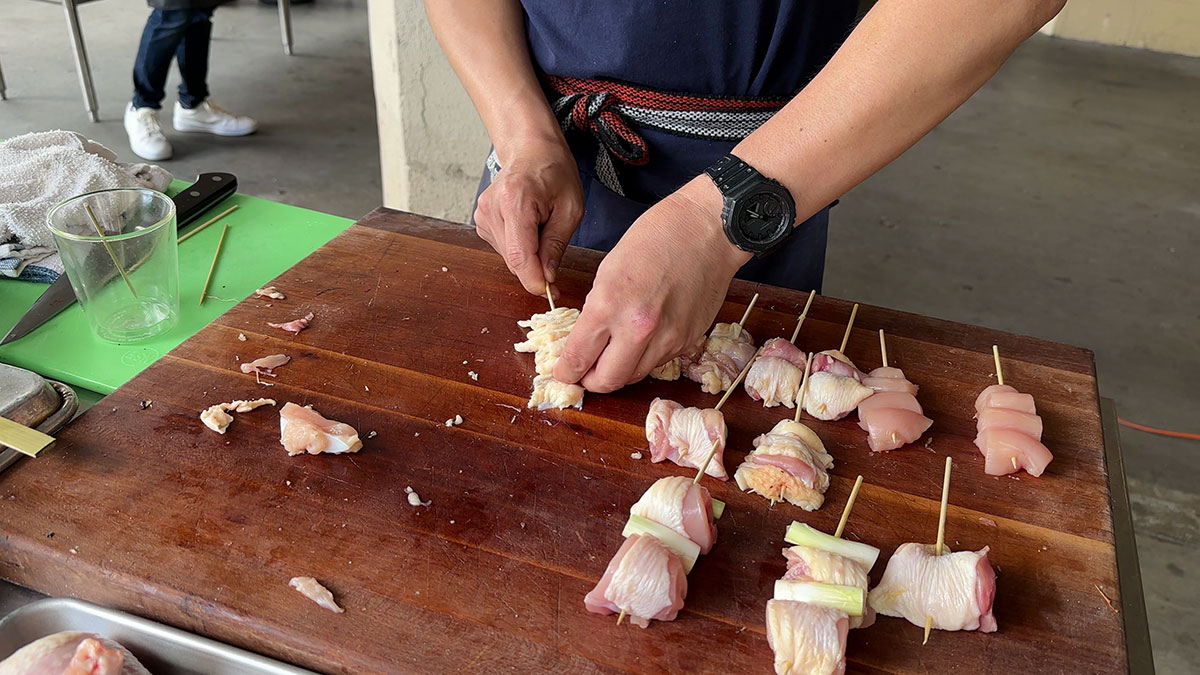
This method is perfect for when you are skewering chicken skins (butt skin, neck skin, belly skin, breast skin, etc) and chicken wings.
Here, you are essentially stitching through the skin until everything is skewered. For the wing flats, you need to open it up and “weave” in between the bones.
Tip for skewering chicken:
- Do not skewer mid-air, lay the chicken flat on the board. It will be easier.
- Be gentle to not squish the chicken and because it can also be slippery.
- My friend said that making yakitori is very thoughtful in the sense that it always thinks about how you can make the experience better for the person eating this. If there are any hard tendons in the tenders, for example, that get in the way of the soft and juicy meat, you need to remove them before skewering them.
Flavors of Yakitori
Before grilling the chicken skewers, the main seasoning Yakitori Guy used is salt and sake spray. This very simple seasoning brings out the flavors of chicken.
After grilling, there are two flavors commonly used for yakitori.
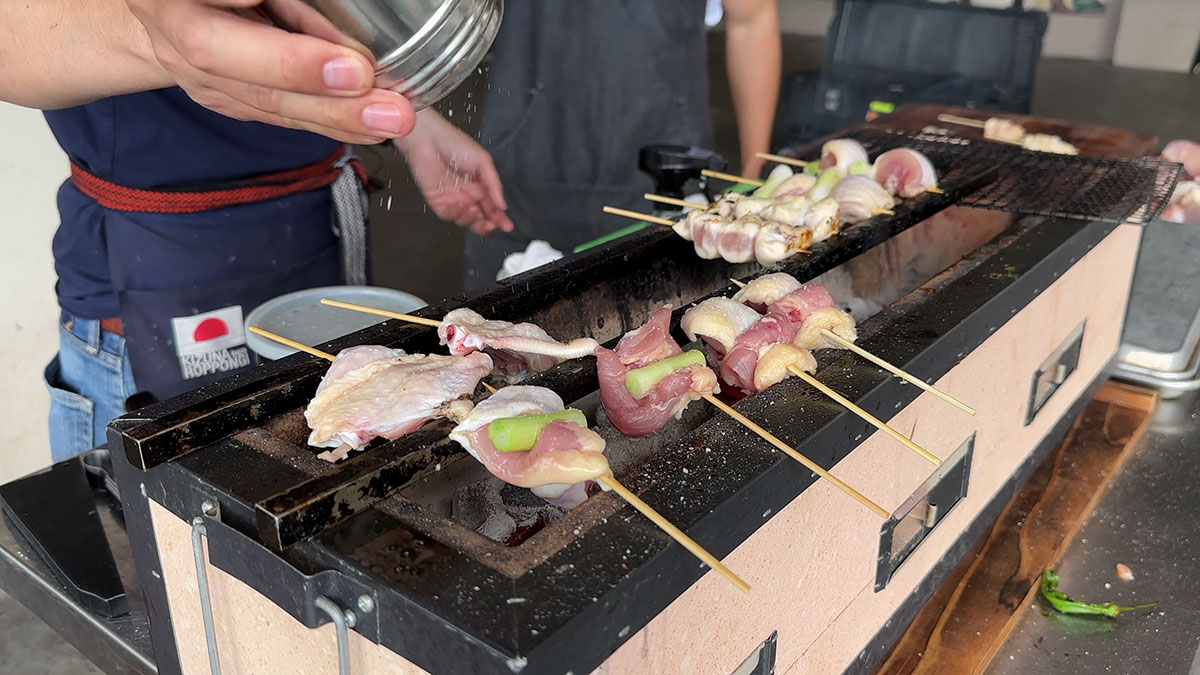
Shio or salt and lemon. Sprinkle only a bit on the wings, skin, and oyster thighs. This simple seasoning aims to highlight the flavors of the chicken itself.
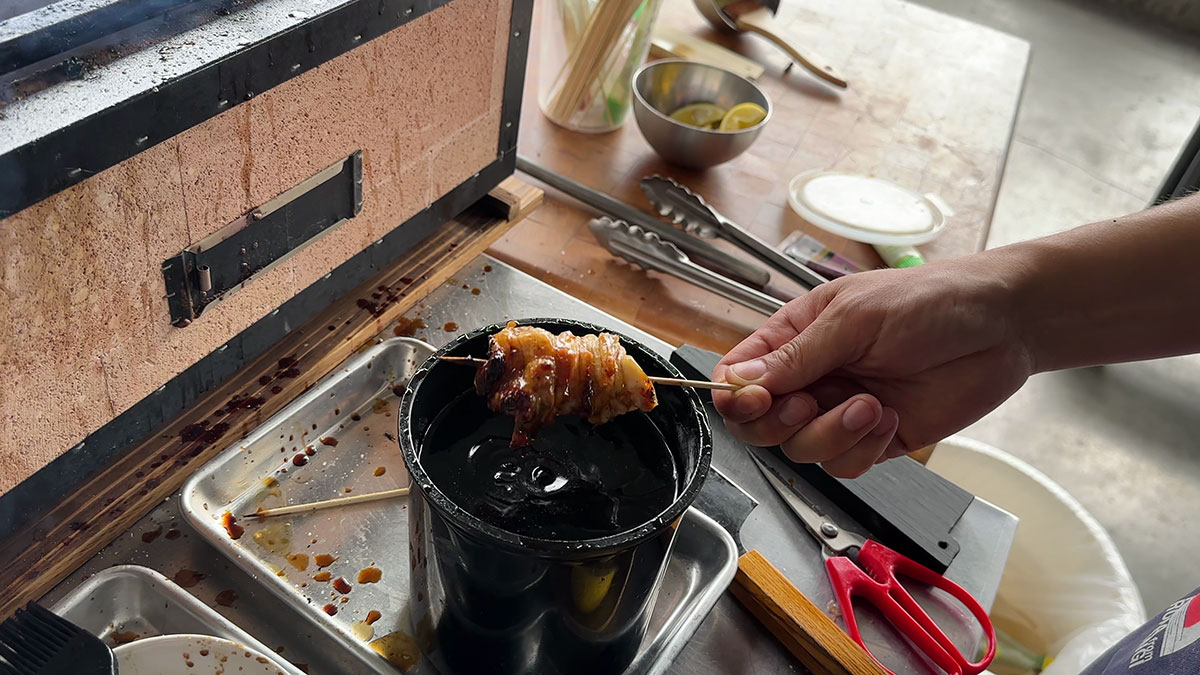
On the other hand, Tare is a sauce made of soy sauce, sugar, mirin, and sake. Yakitori masters in Japan would often have their own recipe and years old of tare.
Think sourdough starter, it is a sauce that they would continuously add on, and sometimes they would also dip the cooked chicken in so there will be drippings mixed with the sauce. As it is preserved, the flavors just continue to develop.
You can easily recreate this at home with Yakitori Guy’s recipe. This will then be sauce that’s sweet, and salty, and will give a caramelized, roasted flavor perfect for the chunky parts of the thighs.
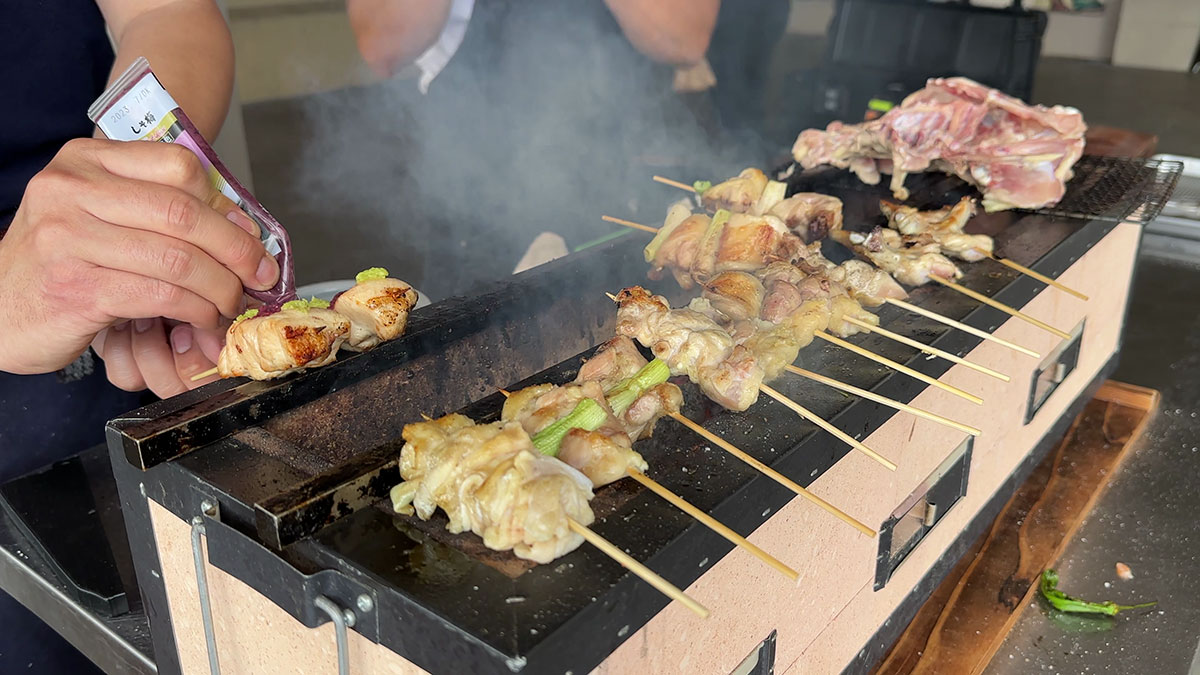
Another sauce you can add is wasabi and ume for additional spice. This is especially good with tenders and thighs.
Special Grill For Yakitori
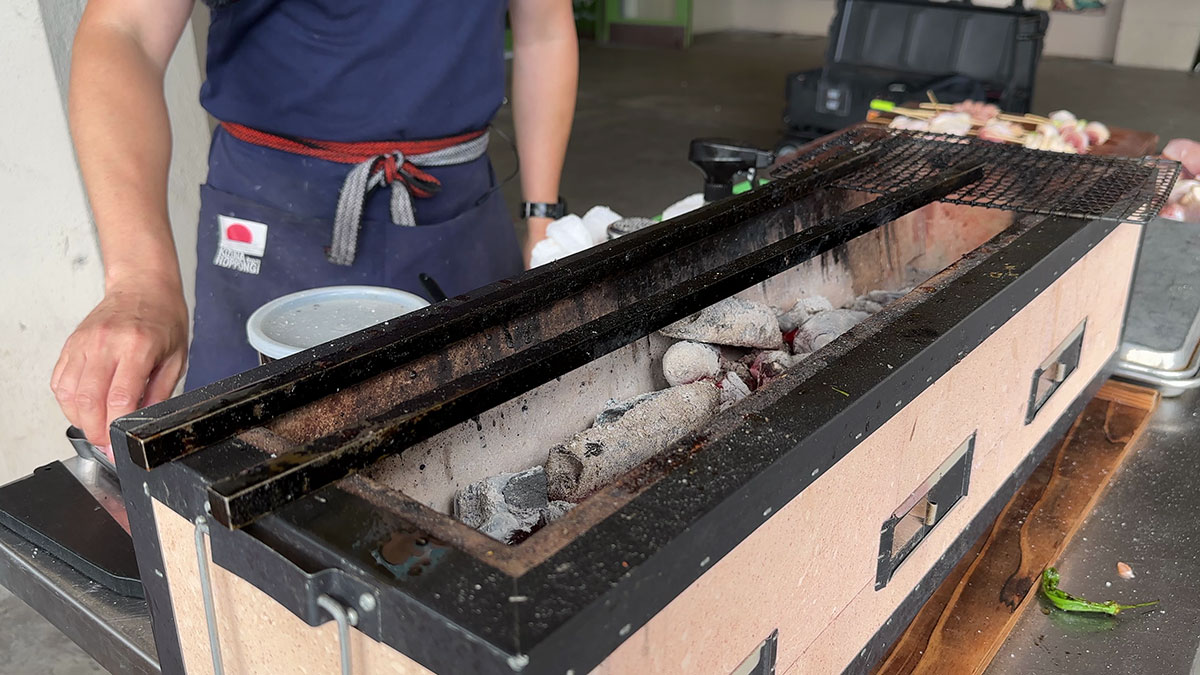
The grills used in yakitori are the traditional grills with grates. When you use these, Yakitori Guy said that the weight of the chicken gets pushed down so the juice comes out more leaving you with a drier chicken skewer.
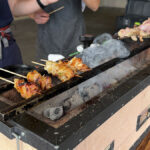
Traditionally, what they use are two bars where the two ends of the skewer will hang and the chicken will be directly on fire. Using this mechanism helps the chicken retain its juice so it’s moist and fluffy once you bite into it.
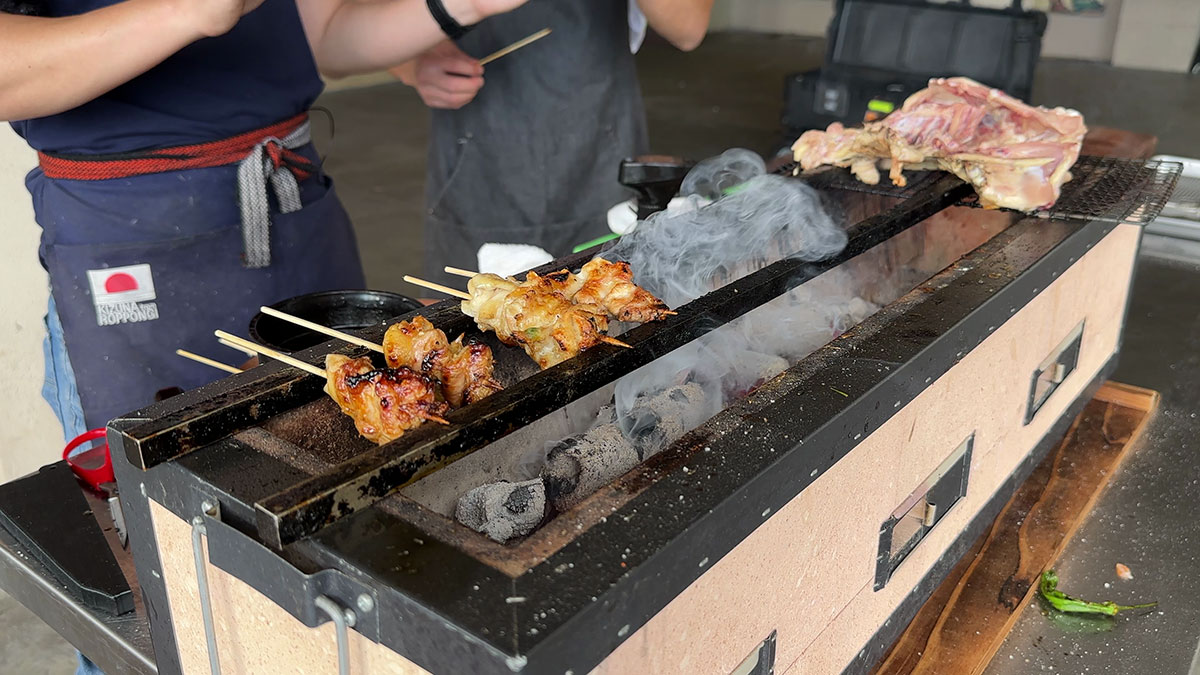
Aside from the bars, he also uses Binchotan, a high-quality charcoal made from oak. The temperature for this type of charcoal is usually high but controlled so that when the fat drips onto it, it will not flare up and instead create vapor or smoke which is one of the secrets of good yakitori.
If you’re interested in making this at home, all these are linked to Yakitori Guy’s Amazon page!
Grilling Yakitori
Once the charcoal is heated up, lay your skewers on the grill. For smaller parts, it should be done around 1.5-2 minutes per side. For bigger parts, it should be done around 2.5-3 minutes per side.
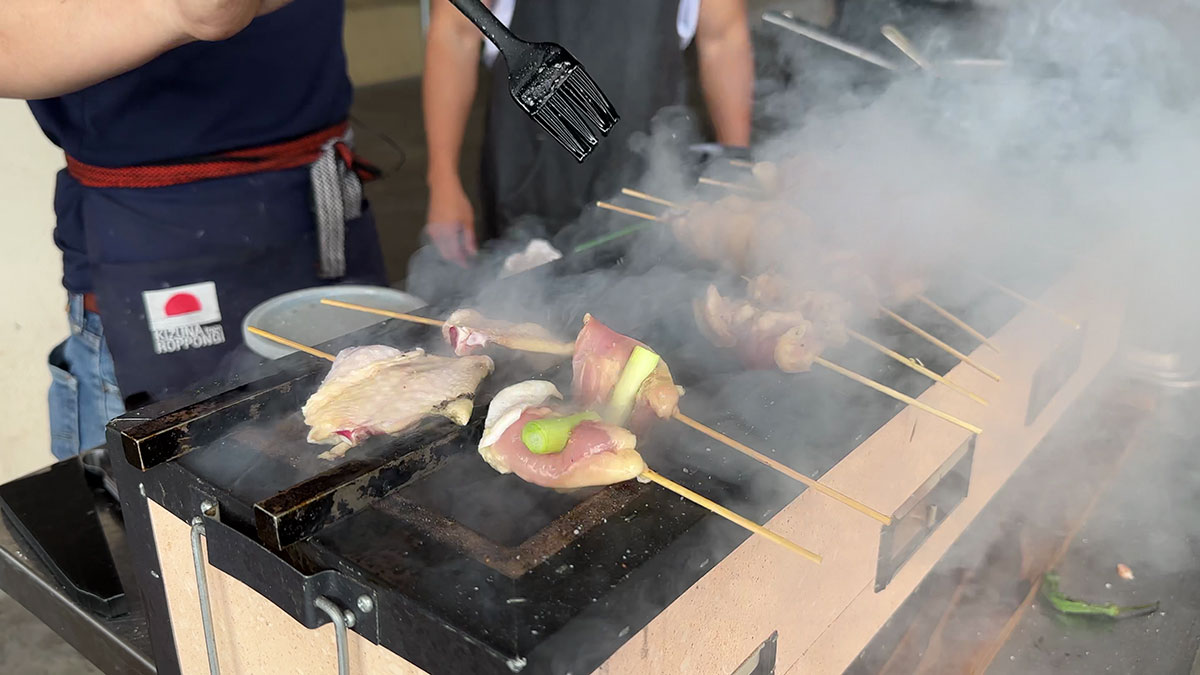
Midway through grilling spray some sake and sprinkle some tare in the chicken to add flavor to it. During this process, the smoke will further build up which is the key to delicious yakitori.
TIP: When flare builds up in the grill, move the chicken around to keep it from burning. Add more charcoal or fan it out as needed.
From there, keep an eye out until it reaches an excellent golden brown or caramelized color, but not burned. You can also watch the texture and the way it shrinks. If you are used to grilling, it will be easy for you. Otherwise, you can also stick a thermometer and it should be 165F to know if it’s cooked.
There are parts like chicken tenders and chicken oysters you can simply grill and season with salt. The highlight will be the chicken itself. But for negima (thigh with scallions) and skin, you can dip in the tare and place it back on the grill for a minute then do it 2-3x more to make the skewers ultimately flavorful!
What to Serve with and How to Eat Yakitori
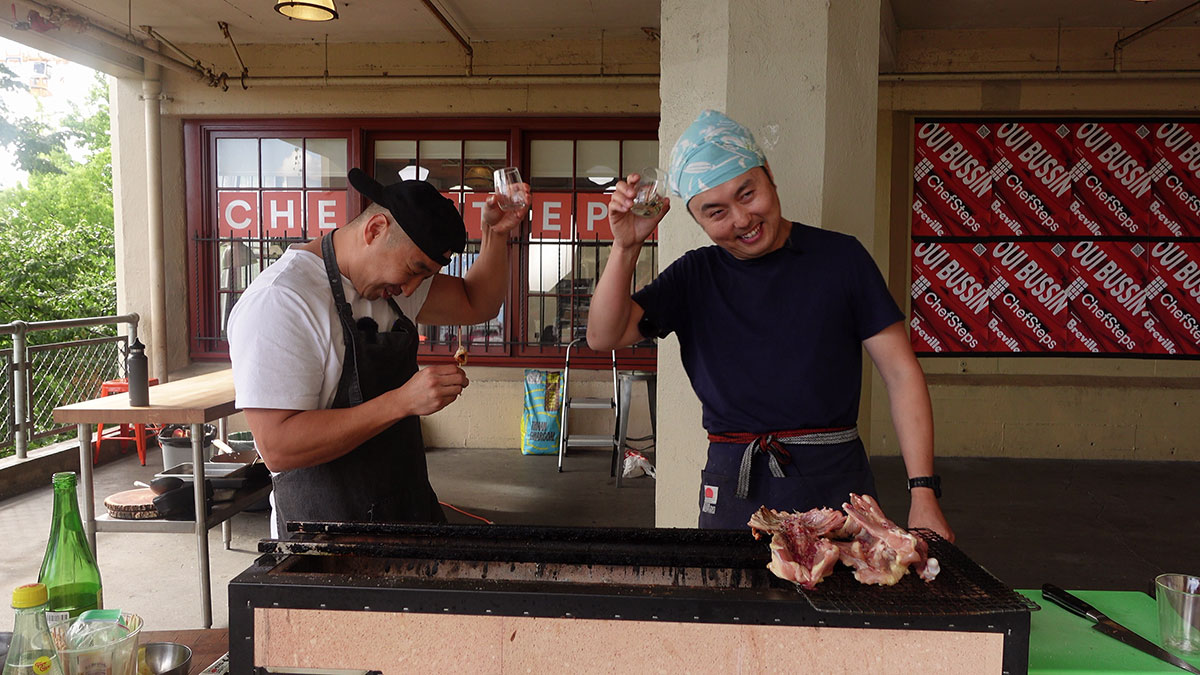
Yakitori is essentially drinking food. In Japan, many izakayas or sake houses/mini bars serve yakitori as a snack for sake. You need to eat this freshly grilled and drink the alcohol in between. It will perfectly complement the deep flavors in your mouth.
Some places serve only yakitori meals. It’s serious business in Japan! Aside from that, Yakitori is also a typical food in festivals and convenience stores.
In summary, you can serve this as an appetizer, snack, or meal with freshly cooked rice or stir-fried noodles. The most important tip here is to not let the skewer get cold otherwise it will lose all its flavor.
My Key Takeaways
When I make collaborations with other creators, they would usually share something I could recreate at home. However, Yakitori is art, it’s masterful, and I don’t think it’ll be as good as what my friend did. I was just grateful to be able to watch him cook this for me, show me the whole process, and just include me in the whole experience. It was like being in culinary school again. I was learning the basics all over again.
Often, I would visit inexpensive yakitori places in Philly and just drink with my buddies, but knowing the work put in making authentic yakitori—I think it truly deserves more respect and even for it to be charged for its true worth.
Lastly, what inspired me the most is that he shared how in focusing on yakitori or chicken alone—he doesn’t rush, he focuses, and he constantly thinks about how to make it better. The care, the precision, and the mastery made me want to do the same with the recipes that I make and share with everyone.
Other chicken recipes you might like:
- Easy Chicken Teriyaki
- Soy Garlic Chicken Barbecue
- Korean-style Spicy Chicken Barbecue
- Yangnyeom Chicken
- Kkanpunggi
- Korean-style Soy Garlic Chicken Wings
Try this recipe out and make sure to leave a rating, a comment, or tag me on Facebook, Instagram, or Tiktok when you chop them up!
Yakitori (Japanese Grilled Chicken)
Equipment
- Knife
- Skewers
- Grill
- Bars for Grilling
- Binchotan Charcoal
Ingredients
- Whole Chicken
- Sake In a spray bottle
- Salt
- Lemon
- Tare
Instructions
Breaking Down the Whole Chicken
- Cut off the chicken tail.
- To get the thigh and leg, slice the skin, break the joints from the whole chicken, and pull it out.
- Slice off the butt skin and the belly meat skin (skin in the middle of the breast and rib).
- Pull the skin on top of the breast and “take it off” then slice it away from the chicken.
- Make an incision along the wings, bottom of the breast, and along the middle of the two breasts, then pull it out. Cut the tendons as needed.
- Cut silver skins or membranes along the chicken tenders and pull them out.
- You will have the skeleton of the chicken and you will also remove the cartilage, skin, shoulder meat, and neck meat.
Skewering the Chicken
- Tenders and Thighs: Lay the chicken on your board, roll it a bit from the bottom then push further from the top while poking through the stick in the middle.
- Skin and Wing Flats: Stitch through the skin until everything is skewered.
- Cartilage: From the parts where there is meat, you will essentially skewer them from side to side.
Grilling the Chicken
- Once the charcoal is heated up, lay your skewers on the grill. For smaller parts, it should be done around 1.5-2 minutes per side. For bigger parts, it should be done around 2.5-3 minutes per side.
- Midway through grilling spray some sake and sprinkle some tare in the chicken, smoke will build up, and let it sit in the smoke.
- From there, keep an eye until it reaches an excellent golden brown or caramelized color, but not burned. Otherwise, you can also stick a thermometer and it should be 165F to know if it's cooked.
- For Negima (thigh with scallions) and skin, you can dip in the tare and place it back on the grill for a minute then do it 2-3x more.
- For chicken tenders, wings, and thigh oysters, you can season with salt and lemon before serving. Add wasabi or ume if you want spice.
Video
Notes
- When flare builds up in the grill, move the chicken around to keep it from burning. Add more charcoal or fan it out as needed.
- Get the tare recipe on Yakitori Guy’s YouTube channel.
- Get the grill equipment on Yakitori Guy’s Amazon page.


Do you have recipe for Tare?
This is Yakitori Guy’s recipe for Tare https://www.youtube.com/watch?v=rTsPPgpRcnk&t=8s 🙂